I have just finished the last of the studio polishing. The white flannel is pinned on my design wall and I am vacuuming one last time. At 4:00 today, I sat down, with a chocolate chip cookie, tea and watched Dr. Oz. And I thought, "Life is really good today, my studio is ready for me!" It has never been so clean.
 |
| Looking at my communications center and newly covered design wall. |
The pink Styrofoam design wall is covered and usable, a beautiful quilt is hanging on it, and my walls have quilts and other special items that surround me that I love. My printer which conked out this week, is now working, thanks to HP tech support. The baseboard heaters are painted a beautiful white and trim is too. The dark 70's paneling is gone. It is time to work on my newest Egyptian quilt again, it needs lots of embroidery before it can be quilted. There is my collage which you've seen, which is ready for basting and quilting. Lots to do.
Before I begin my embroidery and quilting, I will give you a quick tour of my studio. This wall is my communications center and design wall which is 8 x 8 feet. It is shoved into the corner, but if I need the full width, I can scoot is to the left, covering up the clock.
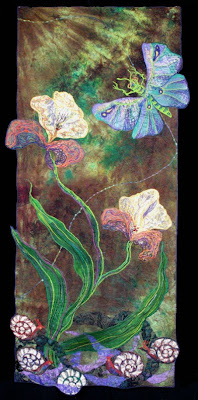
Egyptian Water Garden II is hanging on it right now. I love this quilt, when I look at it, it makes me feel good.
 |
| Check out the fresh white walls! My cutting table is half a ping pong table, & rulers hanging on the wall. Notice the outlet on the wall where the pencil sharpener is plugged in. |
Around the corner is the long wall with my TV, cutting table and windows. I have hung up
Line Dancing Under the Stars,
Tragedy on Esplanade,
Black Eyed Susans on Purple and
A July to Remember. It is good to live with your quilts surrounding you. My studio gets lots of light in the morning, so I rotate the quilts to reduce fading.
 |
| This is a very long wall, so I'm showing it to you in 2 parts. |
Around the next corner is my short wall with all my products that I sell online: books, patterns, booklets etc. My stereo keeps my quilting smooth and there is an assortment of Winona Lake items on the wall. My postage stamp piece honoring
Winona, a historic painting on grass cloth, a water color by local artist Jean Thielen, a Japanese figure I've had since the age of 12, a poster of Winona, and two black eyed susan pieces. The little one was a gift from Emily Parson, and the
Purple Eyed Susans was a demo in my book
Dancing with Thread. It really sings on the bright white wall.
 |
| This is the part of the room where the embroidery and quilting happen! |
Last of all Oreo is thrilled with the new look. She can walk along the ledge that is 4 feet up from the floor and watch over all my creative activities and the critters outside. Another bonus, I found an electric outlet, that I didn't know was there, on the long wall. It had been piled up with assorted treasures and junk for years.
 |
| The drawers facing out, under the machine cabinets are where I store my thread--by color. They are on wheels and can be moved around. |
Well, I'm ready to sew now. This major cleaning will never happen again. Once every 35 years is enough. I'm good to
go sew.
Have a good weekend.
Ann Fahl
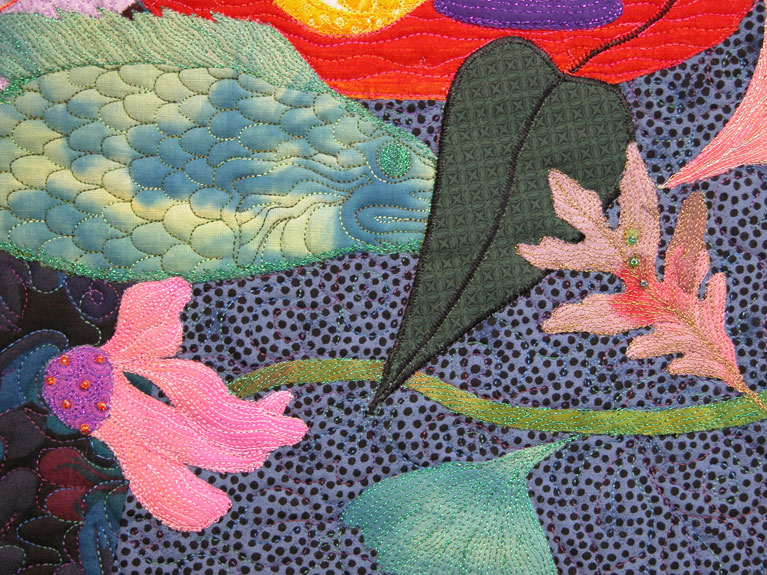
 Also in a hoop I stitch the veins in the lily pads. I've used a blue variegated thread for this.
 Next, while I still had my embroidery hoop close by, I covered the cattails, ducks heads and bills with straight free motion embroidery. Then I basted the layers together, and will finish the rest of the details in the quilting phase of the quilt. Before I do more decorative quilting, I outline every shape in the center of the quilt with mono filament thread.